How to Install Apache Web Server on Ubuntu 24.04?
Introduction
Websites are basically made up of files and scripts. Well, a web server serves them every time your users enter your domain in a browser. Apache (Apache HTTP Server) is one of the most popular open-source tools used for this. It is one of the oldest web servers and is widely used due to its flexibility and wide support.
Moreover, you can build a static site or something dynamic with PHP or Python; in turn, Apache knows how to handle any of it. Also, it can be easily customised to work like a reverse proxy or even a load balancer with the help of modules.
This article will discuss the entire process to install Apache web server on Ubuntu 24.04. We will cover installing the package, securing the server using HTTPS and setting up virtual hosts. Also, know how to check if everything is working. Further, learn to make it handle your domain and finally protect it with SSL. Learn more about to install Apache, MySQL, PHP (LAMP Stack) on Ubuntu 24.04
Prerequisites
Your Ubuntu 24.04 VPS must be already running. Also, use any cloud platform, such as Cantech. Next, you should set up a domain (like app.example.com) and point it to your server’s public IP using an A record in your DNS settings.
After that, log in to your server using SSH. You must log in as a regular user with sudo rights and not directly as root. Also, go ahead and refresh your system packages with –
sudo apt update
sudo apt upgrade -y
Install Apache on Ubuntu 24.04
- Apache is included in Ubuntu’s default software list, so installing it is easy using –
sudo apt install apache2 -y
- After you install it, check its version with –
apachectl -v
You will see the output.
Server version: Apache/2.4.62 (Debian)
Server built:   2025-08-10T18:20:43
- Now, your server should be ready to receive web traffic, but your firewall needs to allow HTTP. So, make sure port 80 is open with –
sudo ufw allow 80/tcp
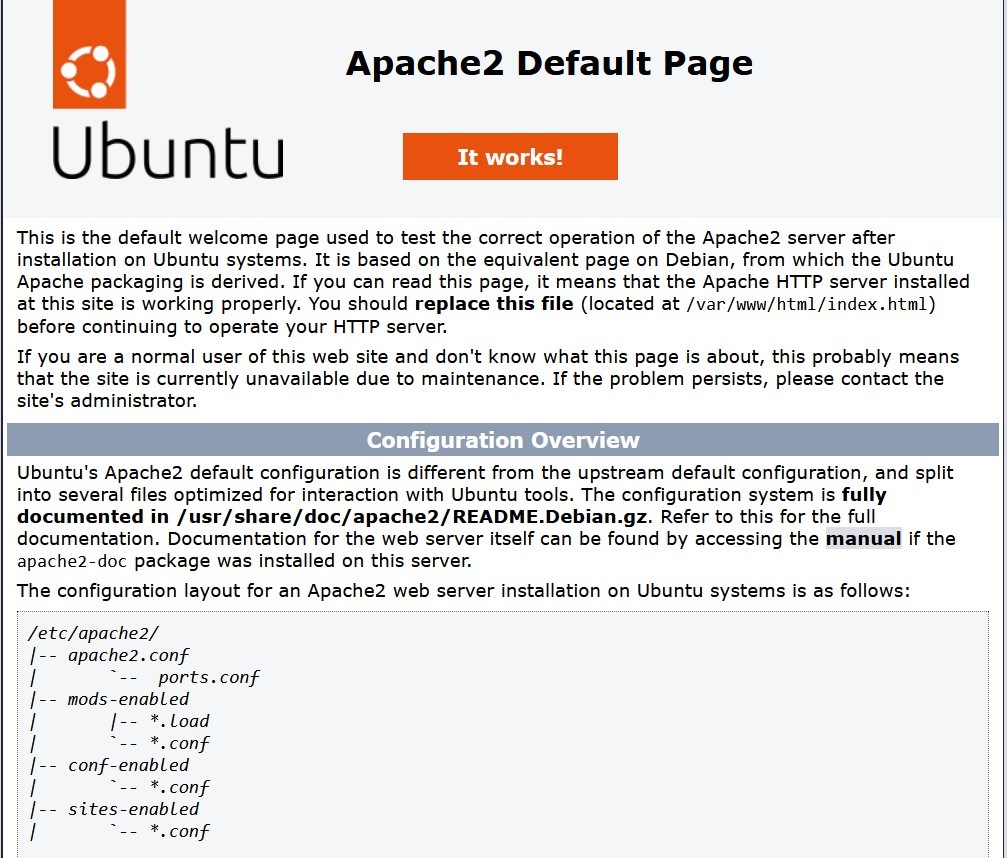
Confirm that everything is working. For that, open your browser and type in your server’s IP. You should see Apache’s default web page pop up.
http://Your_Server_IP
Apache To Run Automatically
- Apache runs as a system service. To make it start automatically upon every server boot, use the code.
sudo systemctl enable apache2
- Run the following command to start Apache whenever it is stopped:
sudo systemctl start apache2
- Check Apache service status to confirm it’s active on your server.
sudo systemctl status apache2
Output:
apache2.service - The Apache HTTP Server
     Loaded:   loaded (/lib/systemd/system/apache2.service; enabled; vendor preset: enabled)
       Active:   active (running) since Mon 2025-09-20 10:25:32 UTC; 5s ago
         Docs:   https://httpd.apache.org/docs/2.4/
   Main PID:   1234 (apache2)
        Tasks:   55 (limit: 4575)
    Memory:   8.5M
           CPU:  120ms
     CGroup:   /system.slice/apache2.service
                     ├─1234 /usr/sbin/apache2 -k start
                     ├─1236 /usr/sbin/apache2 -k start
                     └─1237 /usr/sbin/apache2 -k start
- Use this command to stop the Apache web server.
sudo systemctl stop apache2
- You can restart Apache with the below commands.
sudo systemctl restart apache2
Creating a Virtual Host for Your Domain
Now, set up your own Apache Virtual Host so your website can be accessed using your domain name, like app.example.com and not with the server’s IP. This part is super important when you want to host multiple websites or even just organize one site properly.
In a default way, Apache shows just one generic web page using the IP address. However, you can serve your website using a domain name using a virtual host.
Below are the steps –
Create a New Virtual Host File
- Go to the folder where Apache stores all the site configurations.
sudo nano /etc/apache2/sites-available/website.conf
- Paste the below configuration in this file. (Replace the domain name and email with your actual ones)
<VirtualHost *:80>
    ServerAdmin [email protected]
    ServerName app.example.com

    DocumentRoot /var/www/html/website
    DirectoryIndex index.html index.php

    ErrorLog ${APACHE_LOG_DIR}/error.log
    CustomLog ${APACHE_LOG_DIR}/access.log combined

    <Directory /var/www/html/website>
        Options Indexes FollowSymLinks
        AllowOverride All
        Require all granted
    </Directory>
</VirtualHost>
Here:
- Apache will listen on port
80forapp.example.com - The files for this site will be served from
/var/www/html/website - It allows
.htaccessoverrides. - Errors and access logs will be saved properly.
Save the file and exit Nano.
Turn Off the Default Site and Enable Yours
- Apache runs a site called
000-default.conf. We need to turn that off with –
sudo a2dissite 000-default
- Now, enable your new virtual host.
sudo a2ensite website
- Check if there is any mistake in the configuration.
sudo apachectl configtest
You should see:
Syntax OK
Create Your Website Folder and a Test Page
- Make the web root folder
/var/www/html/websiteas specified in your virtual host setup.
sudo mkdir -p /var/www/html/website
- Add a sample
index.htmlfile inside the web root directory.
sudo nano /var/www/html/website/index.html
Paste the below code inside:
<!DOCTYPE html>
<html lang="en">
<head>
    <meta charset="UTF-8">
    <title>Apache Web Server</title>
</head>
<body>
    <h1>Greetings from your new Apache site!</h1>
</body>
</html>
Save modifications and close the editor.
- Assign the web root directory
/var/www/html/websiteto thewww-datauser and group.
sudo chown -R www-data:www-data /var/www/html/website
- Finally, restart Apache web server to apply all changes:
sudo systemctl restart apache2
Now, when you visit http://app.example.com, you should see the “Greetings from your new Apache site!” message.
Secure Apache with HTTPS using Let’s Encrypt
Apache only responds over HTTP on port 80. This is by default. However, every site also needs to be on HTTPS (port 443) to build trust and prevent data leaks.
For this, install Certbot and use it to automatically get and set up SSL for your domain.
Install Certbot Using Snap
Ubuntu 24.04 supports Snap, so installation of Certbot is easy with the below. This installs the latest Certbot version that works with Apache.
sudo snap install certbot --classic
Run Certbot to Get the SSL Certificate
Now, let’s run Certbot. It will –
- Verify your domain
- Get a valid SSL certificate
- Configure Apache to use it
- Redirect all HTTP traffic to HTTPS
Run the below command and replace the domain and email ID:
sudo certbot --apache --agree-tos --redirect -d app.example.com -m [email protected]
What happens next –
- Certbot will connect to Let’s Encrypt and ask for permission to make changes to Apache.
- It will verify your domain (so make sure your domain points to your server).
- It will update your Apache config to use HTTPS automatically.
- If everything goes right, you’ll see a message like this –
Successfully deployed certificate for app.example.com
Congratulations! You have successfully enabled HTTPS on https://app.example.com
Your website is now served over HTTPS.
Test Auto-Renewal of the SSL Certificate
Let’s Encrypt certificates expire in 90 days, but Certbot sets up automatic renewal. However, you must test if that works.
sudo certbot renew --dry-run
Do you see “simulated renewal succeeded”? This means your site will stay secure automatically. You do not have to do anything later.
Output:
- - - - - - - - - - - - - - - - - - - - - - - - - - - - - - - - - - - - - - - -
Processing /etc/letsencrypt/renewal/example.com.conf
- - - - - - - - - - - - - - - - - - - - - - - - - - - - - - - - - - - - - - - -
Simulating renewal of an existing certificate for example.com

- - - - - - - - - - - - - - - - - - - - - - - - - - - - - - - - - - - - - - - -
new certificate deployed without reload, fullchain is
/etc/letsencrypt/live/example.com/fullchain.pem

- - - - - - - - - - - - - - - - - - - - - - - - - - - - - - - - - - - - - - - -
**DRY RUN: simulating 'certbot renew' close to expiry**
**(The test certificates below have not been saved.)**

Congratulations, all renewals succeeded. The following certs have been renewed:
  /etc/letsencrypt/live/example.com/fullchain.pem (success)
- - - - - - - - - - - - - - - - - - - - - - - - - - - - - - - - - - - - - - - -
Restart Apache to apply the SSL changes.
sudo systemctl restart apache2
Your website is now live and secure with HTTPS. Next, make sure the firewall allows all the necessary traffic.
Allow Apache Through the Firewall
Ubuntu 24.04 usually has UFW (Uncomplicated Firewall) running by default. We will use it to let Apache handle both HTTP (port 80) and HTTPS (port 443) connections safely.
Check What Profiles Are Available in UFW
With the below command, first see what pre-configured firewall rules exist for Apache.
sudo ufw app list
Check that the default Apache profile is available in the output below:
Apache
Apache Full
Apache Secure
OpenSSH
Here’s what they mean –
- Apache = Only HTTP (port 80)
- Apache Secure = Only HTTPS (port 443)
- Apache Full = Both HTTP and HTTPS
Allow Apache Full Access
We want both ports open, so allow the ‘Apache Full’ profile.
sudo ufw allow 'Apache Full'
Reload UFW to Apply the Changes
The rule is added so reload UFW to activate it.
sudo ufw reload
Check Firewall Status
Confirm that everything is set properly by running.
sudo ufw status
You should now see something like this in the output.
To                                  Action        From
--                                    ---------        ------
22/tcp                          ALLOW       Anywhere
Apache Full                 ALLOW       Anywhere
22/tcp (v6)                   ALLOW       Anywhere (v6)
Apache Full (v6)          ALLOW       Anywhere (v6)
This confirms that your server is allowing both HTTP and HTTPS traffic from anywhere.
Now, open your browser and visit your domain name (like https://app.example.com). You should see your HTML message “Greetings from your new Apache site!” with a secure padlock icon in the address bar. That means SSL is working fine.
Conclusion
Now that you have followed the above steps.
- You have just fully completed the install apache web server ubuntu process and secured Apache on your Ubuntu 24.04 server.
- Your site runs on HTTPS using Let’s Encrypt
- The firewall is configured to let web traffic in
- You are ready to go live!
So, your server is production-ready for hosting.
- Static websites (HTML, CSS, JS)
- CMS platforms like WordPress
- Web apps running on PHP, or even Python via mod_wsgi
Later, if you need it, Apache can also be turned into a reverse proxy. You can run backend services like Node.js or Django behind it securely. Refer to Apache HTTP Server Documentation for more information.