Using Plesk To Stage Websites
When developing websites, deploying code directly to a live server is a risky business. You could end up with errors such as broken layouts, database problems, or even complete shutdowns. A staging environment is a lifesaver. It’s a private, risk-free environment where you can test changes to your production site, new features, or server configurations. Plesk has made this incredibly easy. With a few clicks, you can clone your files and databases. This guide focuses on Plesk’s staging features to create a deployment workflow that protects your site.
Website Staging
A staging website is a clone of your live website, but is viewable to the public. It has the same software, hardware, and settings as the live website, which is why it is useful. You can perform changes on the code and content of the website. With just a few easy steps, Plesk allows you to set up a testing environment for your website.
Setting Up a Staging Environment for Your Website
Suppose you want to set up a staging environment while using Plesk for web hosting. In that case, you may create a new domain (or subdomain) to host the environment. For instance, if your primary domain is example.com, you can set up a subdomain staging.example.com for your testing environment.
# How to Duplicate Your Website
After setting up the staging environment, the next step is to copy everything from the active production environment to the new staging environment. Here are the steps to follow:
1. Log into your Plesk account.
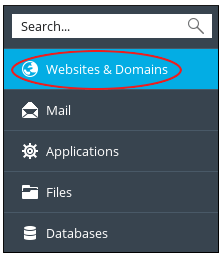
2. Click on Websites & Domains on the left side of the Plesk panel.
3. Find the website that you want to copy, then click on Website Copying.

4. In the Copy Destination settings, choose Website in Plesk.
5. Choose the destination domain from the Site name drop-down list.
6. For the section on What to do with existing files, choose the options you want concerning any files that may already exist on the destination domain.
7. Finally, click the OK button. Your website should be copied to the destination domain.
# Steps to Copy Databases
If your website has a (or several) database(s), you need to copy it (or them) to the staging environment as well. To do this, follow the steps below:
1. Log in to Plesk.
2. In the Databases section of your Plesk panel sidebar, click.
3. From the list, identify the database instance you wish to copy and click the Copy button.
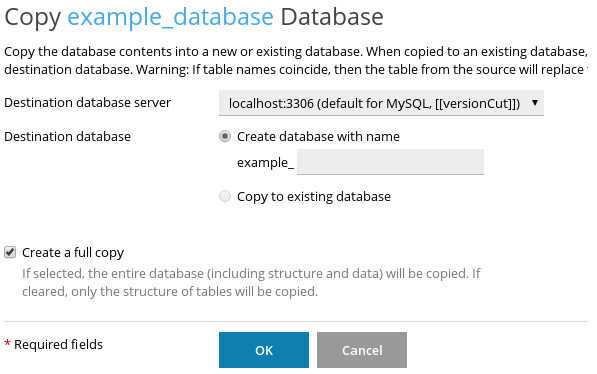
4. Choose localhost:3306 from the Destination database server drop-down list.
5. In the Destination database section, select Create database with name and type the name of the new database.
6. Check the Create a full copy box.
7. Click OK. Plesk will begin the process of database copying.
# Steps to Publish the Site
After you test the staging environment and everything works as intended, you can proceed to publish your website (make it live). To do this, follow the steps below:
1. Log into Plesk.
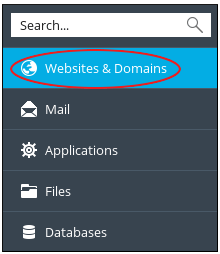
2. Click Websites & Domains from the left sidebar of the Plesk panel.
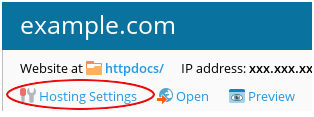
3. From the domains list, find and select your production site, then click on Hosting Settings:
4. For Document root, type in the path for the staging site environment.
5. Hit the OK button.
Incorporating staging into your workflows means you are moving away from ‘cowboy coding’ into a more dependable, professional development lifecycle. Plesk takes care of the most tedious tasks—from duplicating complex databases to re-pointing document roots—so you can concentrate on innovation instead of disaster recovery. staging sites are only useful if they are true duplicates of your live sites, so always double-check your configurations before the final push to production.