Using Git with Plesk
The Plesk Git extension allows you to implement DevOps workflows within your hosting environment with Git integrations. Web development uses version control, and instead of transferring files using File Manager or FTP, you can push your code to your local repository or pull updates from GitHub or Bitbucket with a single command. With Git integrations, each of your site changes is versioned, reversible, and super easy to deploy eliminating the hassle of manual processes to your production server from your development environment.
#Steps to set up a Remote Repository
In Plesk, you can set up a remote Git Repository and then pull files to your site. Follow these instructions to do this:
1. Access your Plesk dashboard.
2. Click on Websites and Domains on the sidebar of your Plesk dashboard.

3. Find the domain you wish to configure and select the corresponding Git icon.

4. Once you are on the Add Git Repository page, ensure the Remote Git hosting option, as in GitHub or BitBucket, is selected:

5. For the Remote Git repository, provide the address for the remote repository in the text field:
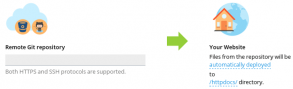
6. For the deployment mode, click on automatically deployed, choose the mode you wish, and click on OK.
7. To set your deployment directory on your site, click on /httpdocs/, choose the local directory you wish, and click OK.
8. Click OK one more time. Plesk will now clone the remote repository into the local directory you specified in Step 7.
# How to create a Local Repository
To create a local repository in Plesk, follow the steps below:
1. Access Plesk.
2. On the left part of the Plesk dashboard, select Websites & Domains.
3. Find the domain you wish to configure, and click the Git icon.
4. Click Add Repository.
5. Choose the Local Repository on your workstation.

6. Type in the repository’s name in the Git Repository text box in Plesk.
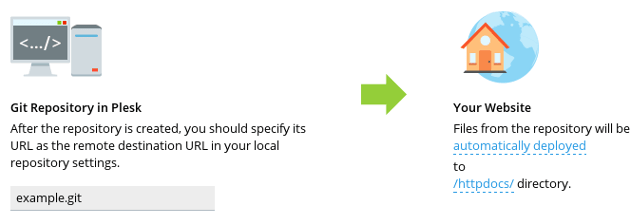
7. To choose the deployment mode, click on automatically deployed, choose the mode you would like, and click OK.
8. To set your deployment directory, click on /httpdocs/, and choose your desired local directory, then click OK.
9. Once more, click OK. Plesk will establish your local repository.
# Steps to Edit Repository Settings
To modify the Plesk settings of an existing repository, do the following.
1. Access your Plesk account.
2. On the left side of the Plesk Dashboard, select Websites & Domains.
3. Find the domain you want to work on and click the Git icon.
4. Find the Git repository you wish to modify, and click Repository Settings.

5. Adjust the settings and click OK. Your changes will be saved by Plesk.
Conclusion
With Plesk’s Git integration, you can automate your manual deployment processes into a simple workflow to avoid mistakes. Whether you’re in a team or on your own, version control will keep your live site in sync with your code and allow for quick rollbacks if needed. Since the repository is linked, you can now write code, knowing your deployment pipeline is as up to date as your development environment.
