How to Modify a cPanel Account with WHM?
The users have the capability of administering several cPanel accounts using one WHM account. It is what makes WHM a convenient tool application to resellers who offer hosting services to various customers. Under WHM, privileges can be given, server resource limits can be set and even DNS options can be changed in regard to a cPanel account.
To Make Changes to a cPanel Account Using WHM
Enter the WHM panel using the root account.
Click on Account information option in the navigator.
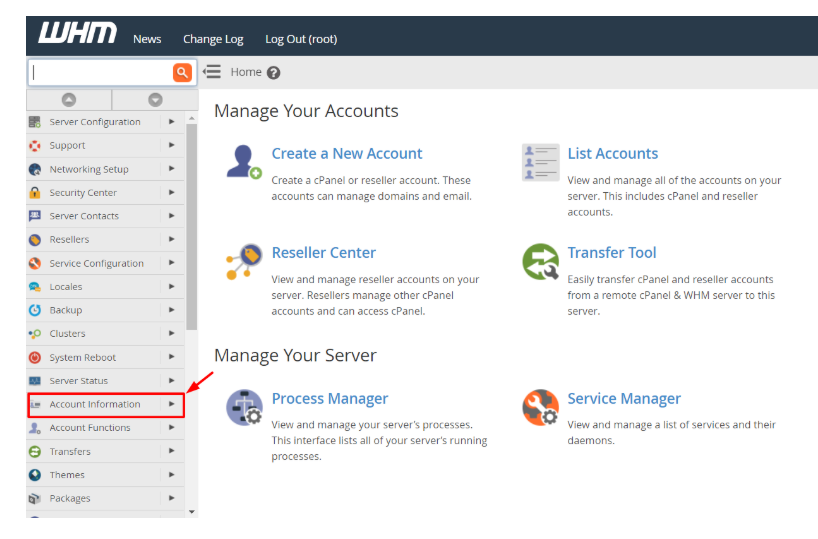
Click on List Accounts.

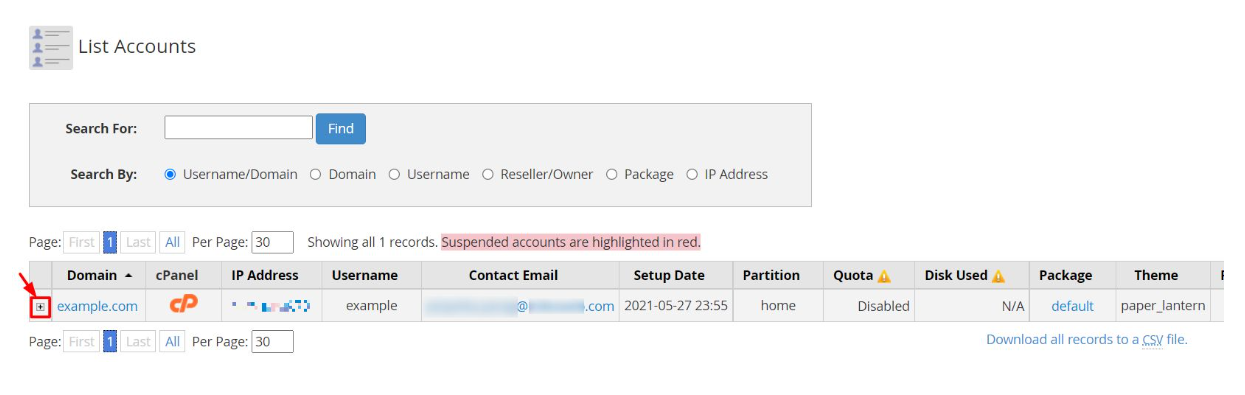
A list will be displayed containing all the cPanel accounts registered under you.
Select the + sign icon next to the account to be altered.
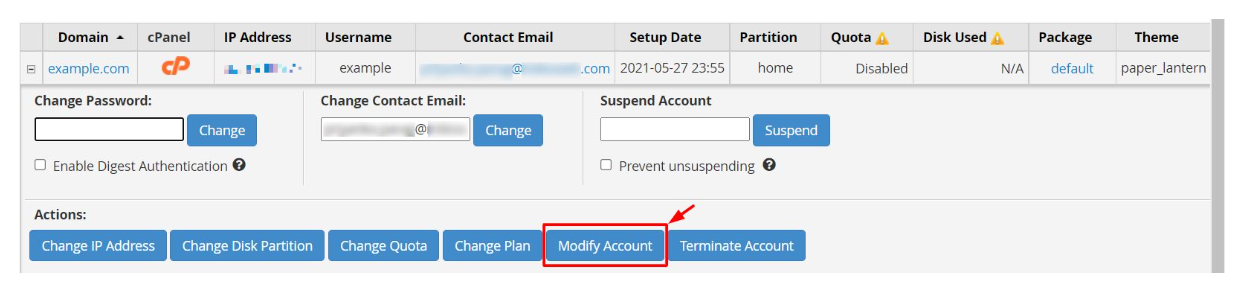
It will give many opportunities to modify the features or set up the account.
Click on the Modify Account button.
An interface in the form will be opened where you can make changes to different settings on the account. We have provided short-term details of every part of the interface.
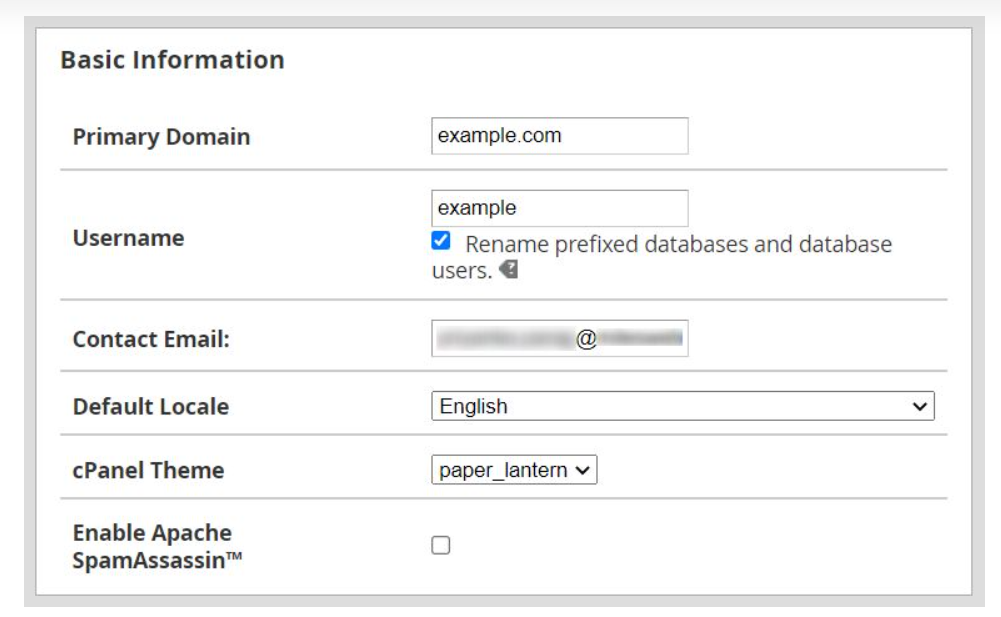
Basic Information
Here you can make changes to the primary domain, user name and the email address of the contact of the cPanel account.
You may even want to have a default language on the account in the dropdown list on the field Default Locale or you may want to make the cPanel interface have a specific theme.
It goes to the extent of enabling Apache SpamAssassin.
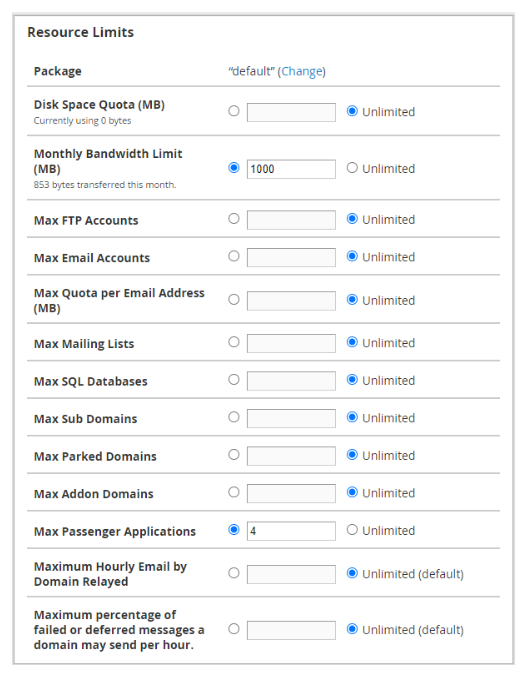
Resource Limits
- It gives you the ability to limit the cPanel account on consumptions of server resources such as disk space (memory storage), bandwidth, databases, email and FTP accounts.
- It is even possible to impose limitations on the maximum number of sub domains that can be permitted in the case of parks domains or addon domains.
- In order to impose limitations on a resource, you must choose the radio button next to the text box and type a maximum value that is permitted on the resource.
- To eliminate any form of restrictions or limitations on a resource, choose the radio button next to Unlimited.
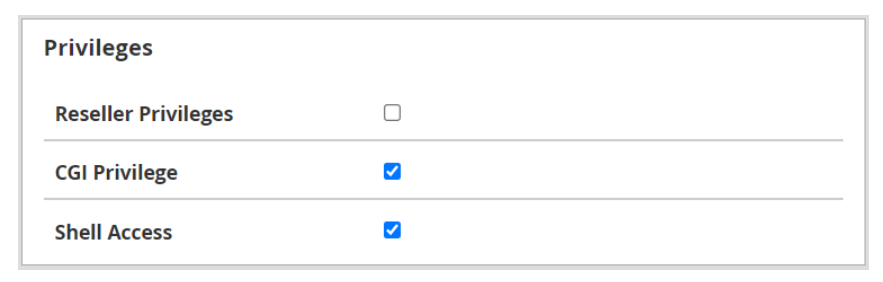
Privileges: It is possible to assign or enable privileges, which will place certain level of authority to the cPanel account.
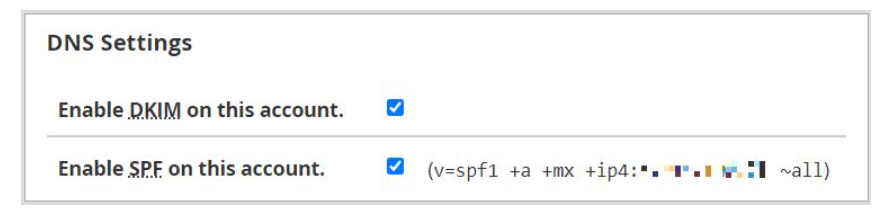
DNS Settings: This allows one to enable DKIM and/or SPF on the cPanel account.
Once all the required changes and modifications have been made, use the Save button that is found at the end of the form.
The system will implement all the changes on the account, and a success message will be displayed on the screen. This way, you are able to create a cPanel account to suit you with just a few clicks.