How to Use the IP Deny Manager in cPanel?
Introduction
Security matters more than ever these days, especially with cyberattacks and data breaches increasing every day. That is why it is important to keep unwanted users away from your website. So, there’s a feature called IP Deny manager to help with this issue. In this blog, we explore step by step instructions on how to use IP deny manager.
What is IP Deny Manager
cPanel comes with a tool called IP deny manager that makes it easy. With this, you can restrict specific IP addresses or domains from accessing your website to give you more control and flexibility. This article provides step by step instructions to use IP deny manager to block and unblock IP addresses using cPanel.
Steps to block IP Address or Domain
Step 1: To block an IP address or domain in the IP Deny Manager, follow these steps:
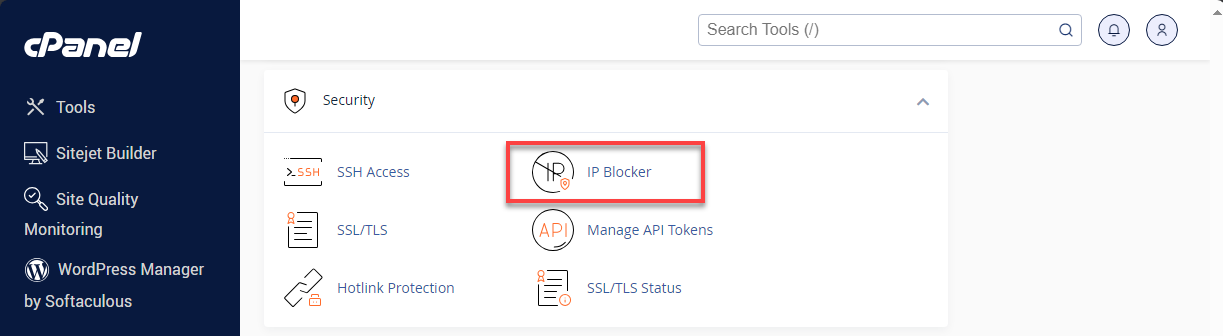
Step 2: In the Security section of the cPanel home screen, click IP Blocker.
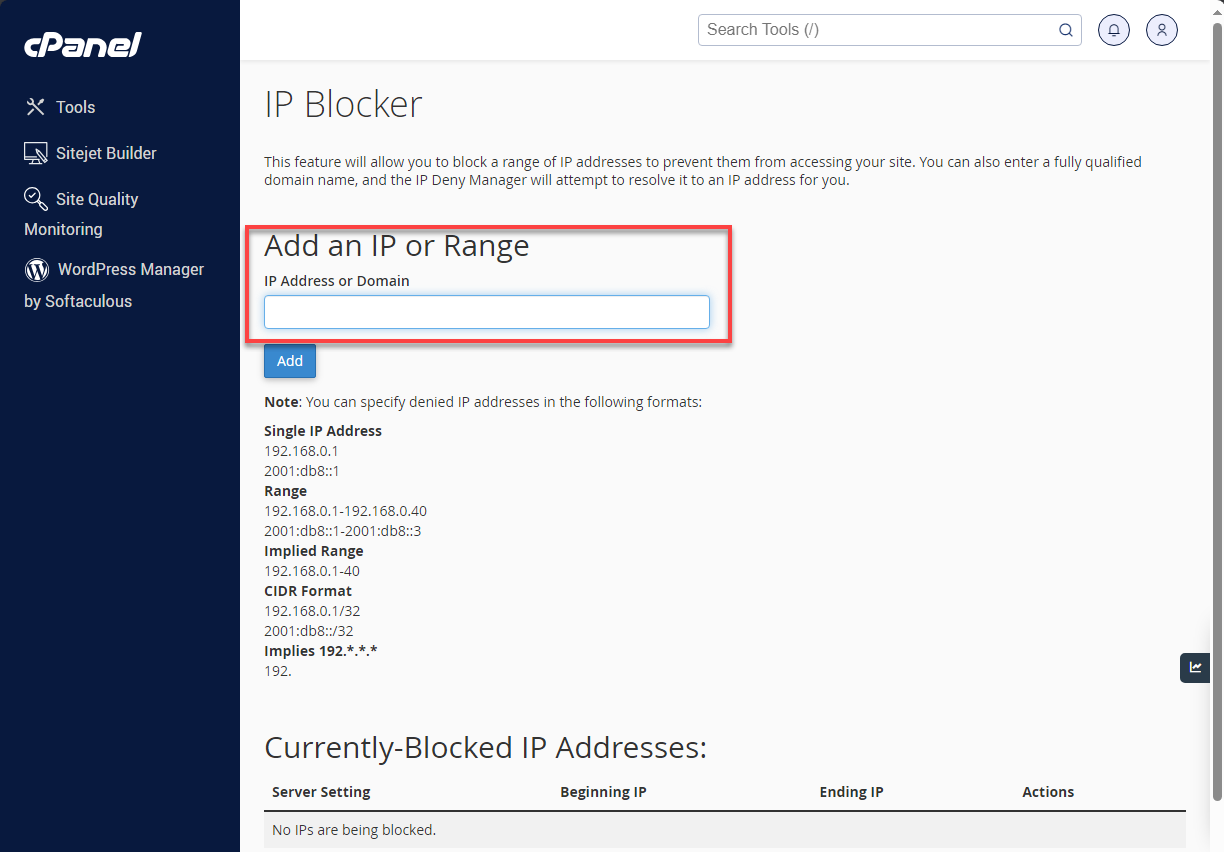
Step 3: In the IP Address or Domain text box, type the IP address or domain that you want to block.
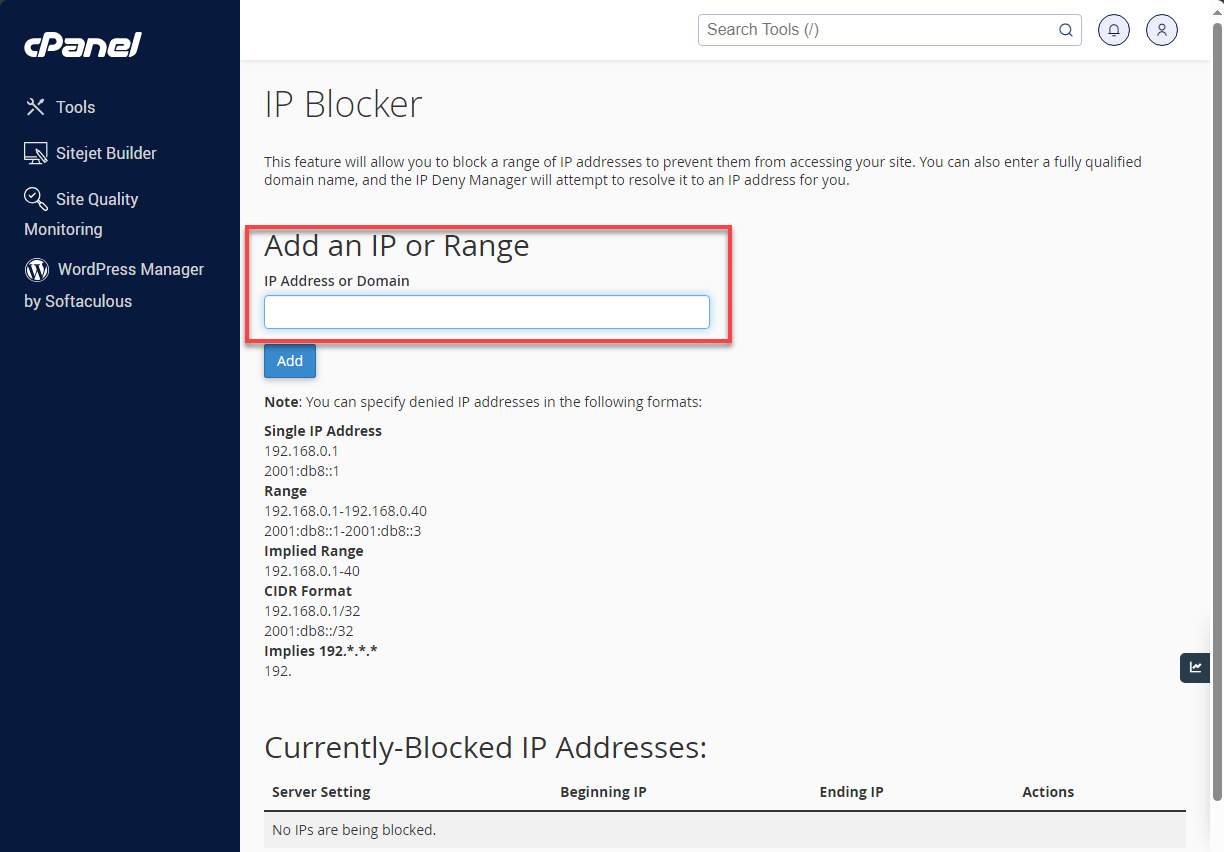
Step 4: Click Add.
Steps to Unblock an IP Address or Domain
You can unblock an IP address or domain that you have blocked previously. To unblock an IP address or domain in the IP Deny Manager, follow these steps:
Step 1: In the Security section of the cPanel home screen, click IP Blocker.
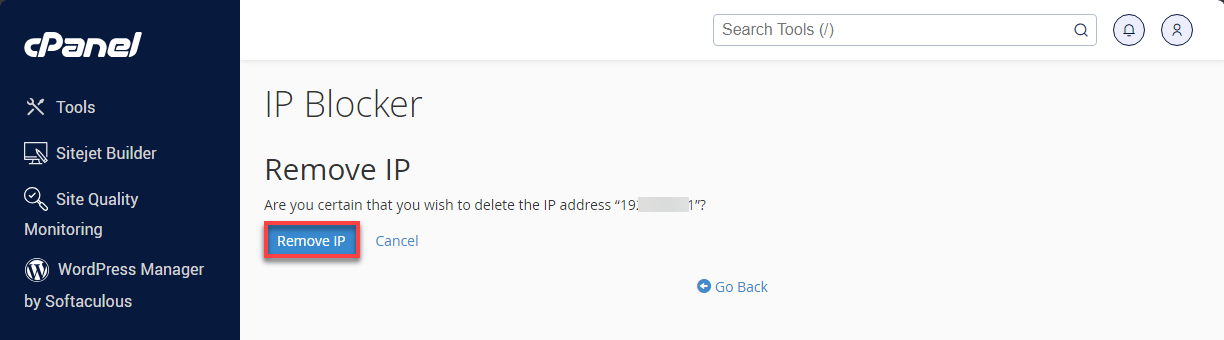
Step 2: Locate the IP address that you want to unblock, and then click the red X icon.
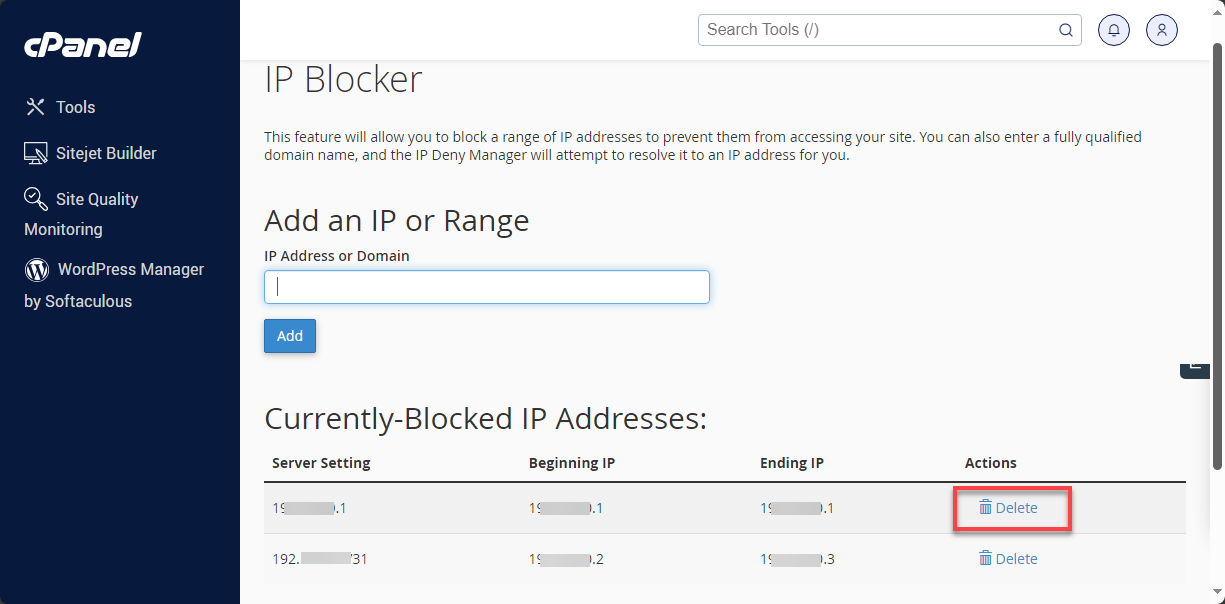
Step 3: Click Remove IP to confirm.
Conclusion
The IP Deny manager in cPanel is a great tool for keeping your website secure. It lets you restrict the unwanted visitors, prevent suspicious activity and manage who can access your website. When you use it along with the visitors tool, you can monitor traffic and capture potential issues which helps you stay ahead and keep online space safe.
