How to Use Backup User Selection Interface?
WHM and cPanel can be used as an instant solution to start a hosting business. Create, manage user accounts and personalize billing efficiently with a dynamic duo. Version 74 brings valuable features for system administrators which includes improved “Backup User Selection”. In this version, this feature has a brand new interface with toggles and “Accounts Actions” menu button for easy management which allows for easy activation or deactivation of all the accounts with a single click. This article dives into details of the backup user selection feature.
Backup User Selection Interface
The main benefit of this interface is its ability to include or exclude user accounts from scheduled backups.
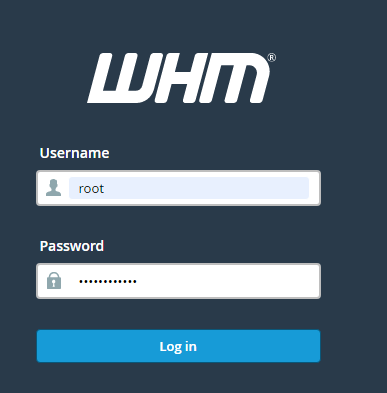
- Log in to WHM
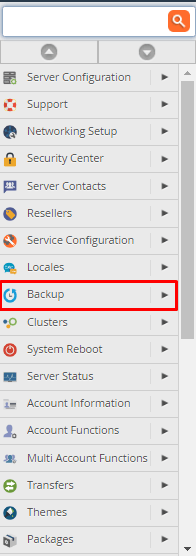
2. Navigate to the “Backup” section.
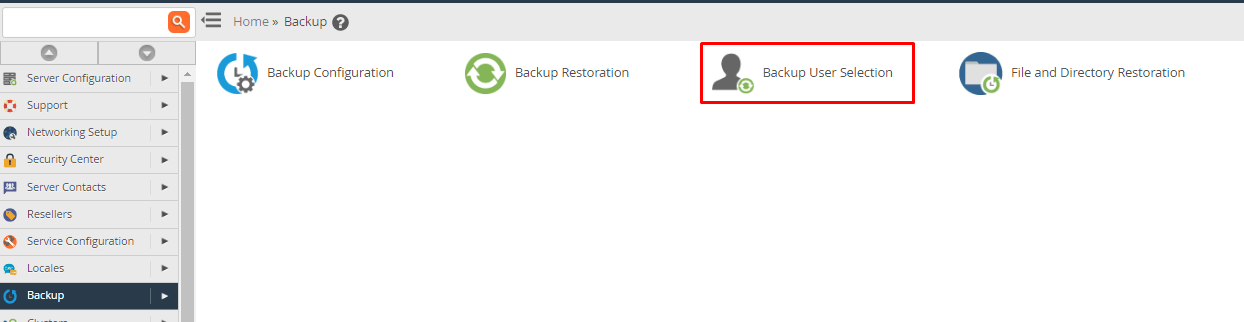
- Choose “Back User Selection” Option.
4. On the page, go to the “Account Actions” section to easily enable or disable backups for all the cPanel users with just one click. Select “Enable all backups” to enable the backup option for all cPanel accounts.
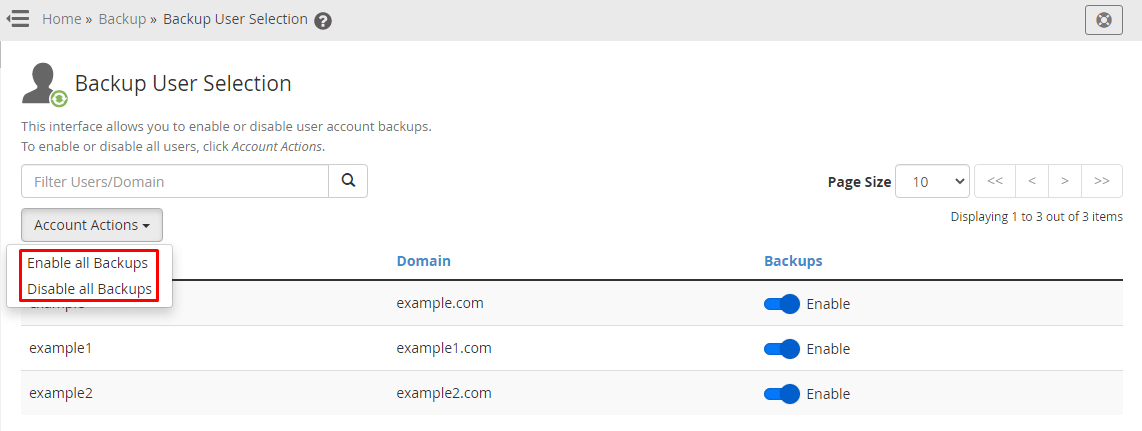
- Besides this, in case you want to disable the backup option for all cPanel accounts, select the “Disable all Backups” option.

6. You also have the option to enable or disable backups for specific users. See the screenshot below for better understanding of how to conduct this task.
Conclusion
Once the backup is set up in the “Backup Configuration” in WHM, user account information is automatically included. You can change the option with a new feature.
