How to Resolve The Error cPanel Temporary URL Not Working
When you are migrating a website, using a cPanel temporary URL can be a great way to access your website before the domain is completely linked. This function is great for testing and ensuring everything runs smoothly before it goes live. But, sometimes users encounter issues where the cPanel’s temporary URL does not work as it is expected.
This article will explain troubleshooting steps to resolve the error “cPanel temporary URL not working” effectively.
Steps to Fix the cPanel Error
Steps to Fix the cPanel Error
The cPanel temporary error URL is a link that permits users to view the website using the server’s IP address rather than domain name and this temporary URL is usually in the “http://ipaddress/user/”.
In the instances mentioned below, you may receive a 404 error when reaching the temporary URL:
a) Users that are migrating their accounts from another hosting provider to your server and want to double-check everything before changing the DNS to your server.
b) Whenever users are building new websites and want to analyze them before opening them up.
Let us follow the steps to resolve this issue:
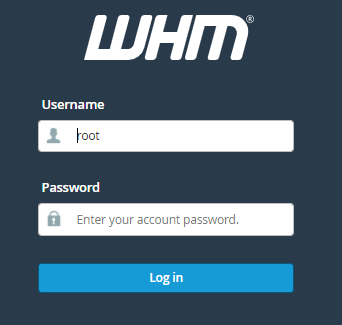
1. Log in to WHM.
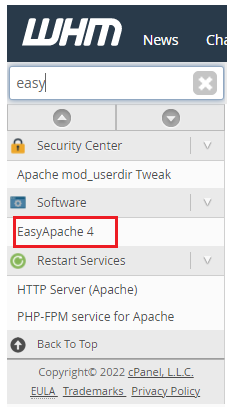
2. Select the “Easy Apache4” option from the left-hand side of the screen.
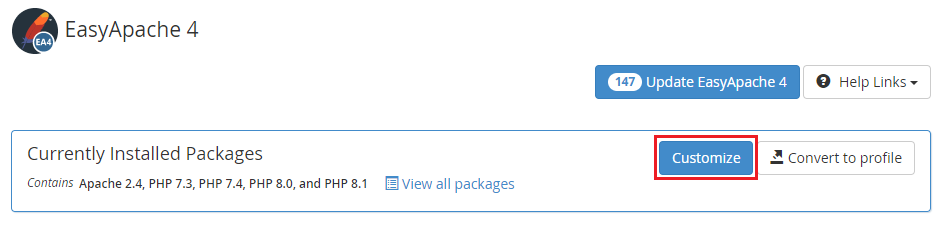
3. Under “Currently Installed Packages” click on the “Customize” option.
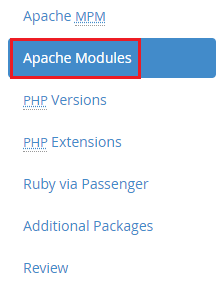
4. Then select “Apache Modules”.
5. Search for “mod_riud2”, it should be disabled.
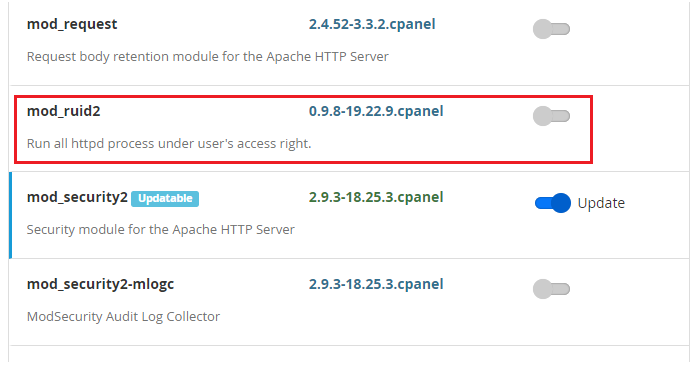
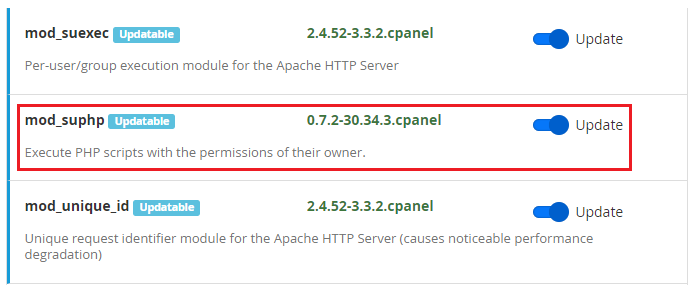
6. Search for “mod_suphp”, enable this option.
7. Click on the “Next” button.
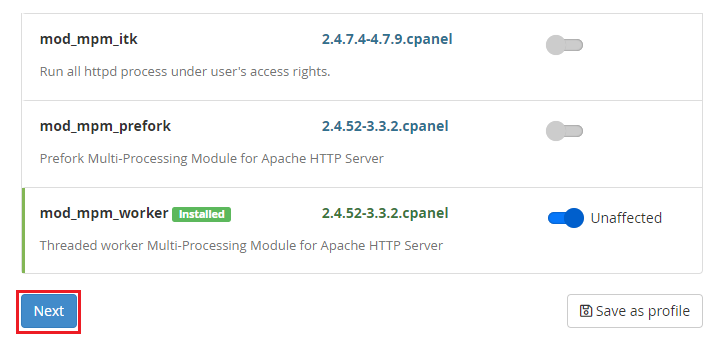
8. You will be redirected to the “PHP versions” automatically.
9. The settings should be kept as it is and click on the “Next” button for all. Namely, “PHP Extensions”, “Ruby via Passenger”, “Additional packages”.
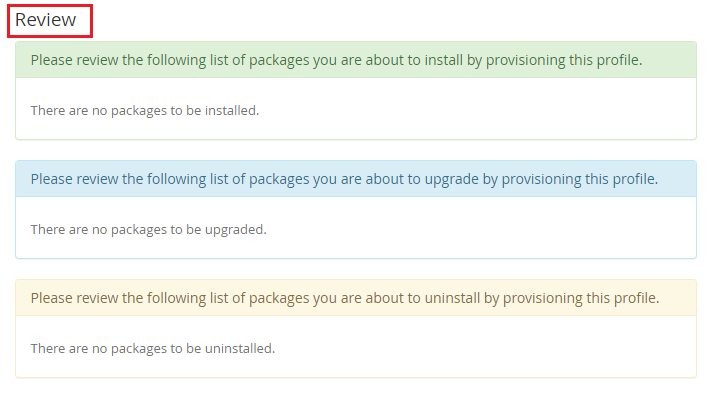
10. Check the list of the packages installed in the “Review” section.
review
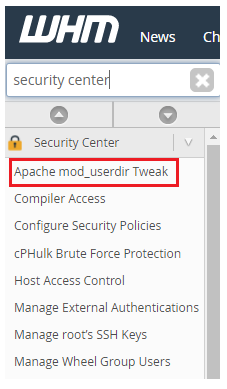
11. Now, Find the “Security Center” option from the left-hand side of the screen and select the “Apache mod_userdir Tweak” under it.
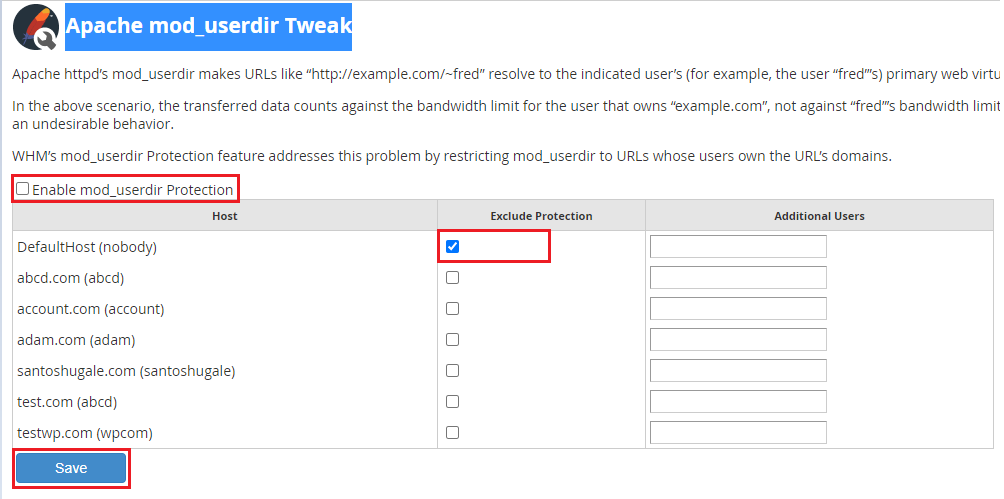
12. Untick “Enable mod_userdir Protection”.
13. Tick the box under “exclude Protection” of “DefaultHost (nobody)”.
14. Click on the “Save” button.
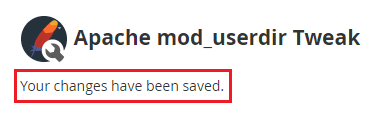
15. You will get a success message that the changes have been saved.
16. You can now upload the data and use the temporary URL to access it.
Conclusion
Troubleshooting the error issue consists of checking configurations related to .htaccess, server security settings that ensure the server’s IP address in the URL is current. By clearly following the steps outlined above. You can diagnose and resolve issues that prevents the temporary URL from functioning properly.
