How To Install SSL Certificate For Plesk?
Getting an SSL certificate is very vital to the success of every online business, more so to an e-commerce store running on osCommerce. An SSL certificate ensures that the communication between your server and your customers’ is encrypted, so that sensitive information such as passwords and credit card details are secured. Plesk has made this process very easy, as they have developed specialized tools that allow easy installation of free certificates from Let’s Encrypt and paid commercial certificates. This guide will show how to set up a free certificate and how to set a rule to make it mandatory for all visitors to use a secured SSL connection.
Note: Prior to the following steps, it is a requirement that you first purchase an SSL certificate for your website. If you have not purchased the SSL certificate yet, you can buy it here.
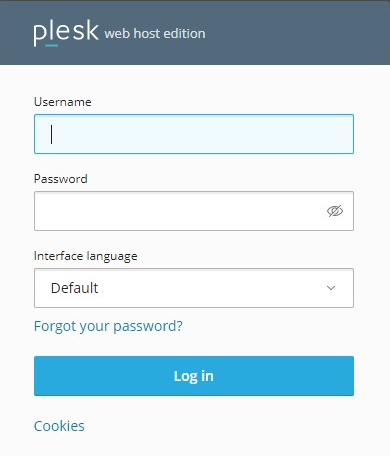
Log in to your Plesk account.
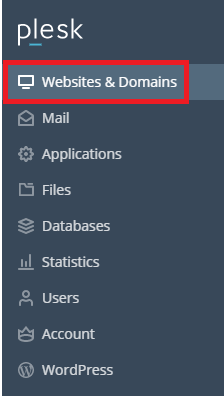
Click on the option ‘Websites & Domains’ to your left.
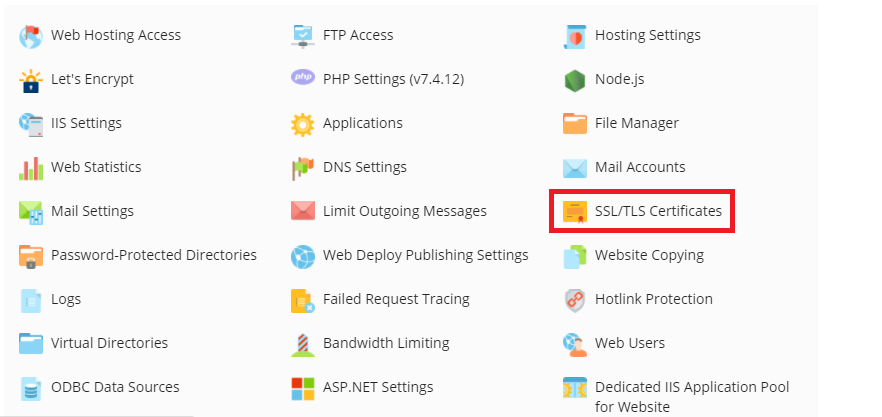
After you click on this section, you will see a domains management screen. From there, click the option ‘SSL/TLS Certificates’.
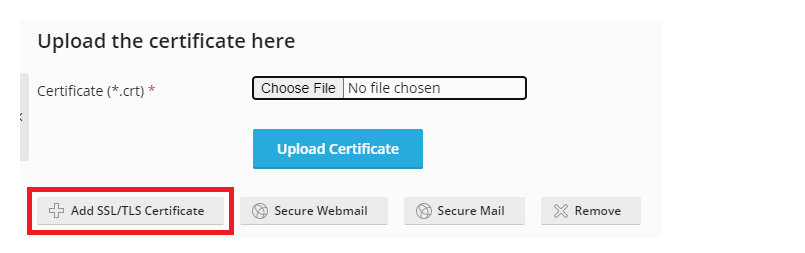
When the SSL/TLS Certificates page opens, you will see an option for uploading a .*crt SSL Certificate file.
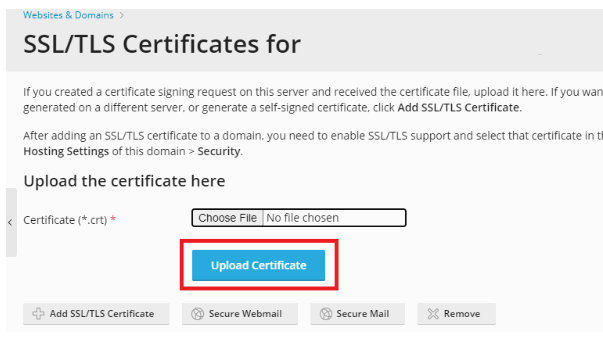
To upload an SSL certificate along with a private key pair created on a different server or generate a self-signed certificate, select Add SSL/TLS Certificate.
You will be directed to a different screen. The top section of this screen will allow you to generate a certificate request. To purchase a certificate from your web hosting company, or to self-sign a certificate through Plesk, fill out the required fields and click the desired option – Request or Self-Signed.
The section Upload the certificate files will allow the upload of both the certificate and the associated private keys. By clicking Choose File, you will be able to select the file you wish to upload.
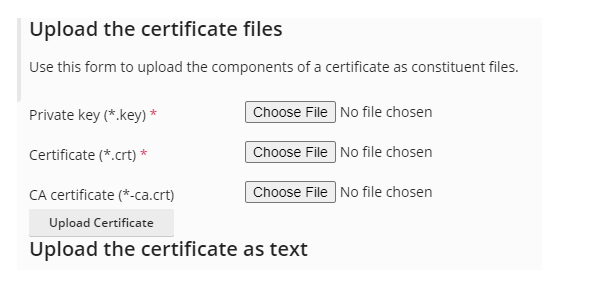
- Once the file is uploaded, click Upload Certificate.
- Also as SSL certificate upload text form is available.
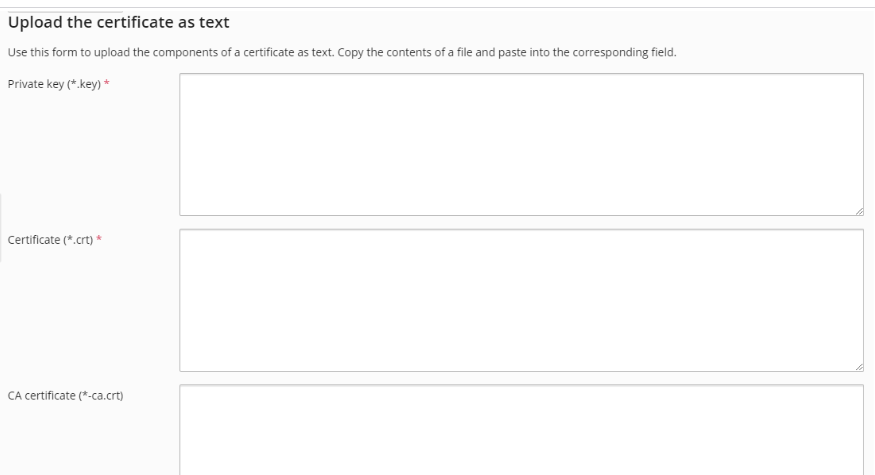
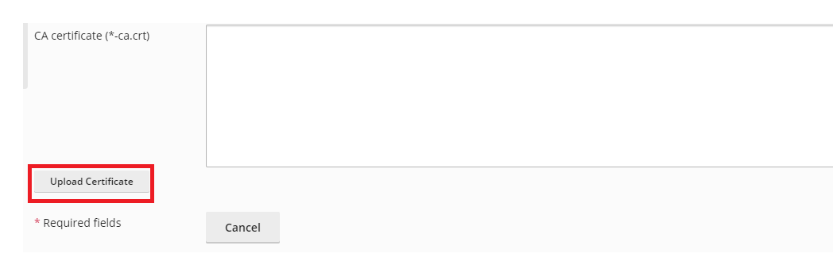
If your SSL certificate is stored as a text file, go to the ‘upload certificate as text” section, then copy and paste or text certificate and private key to the respective fields, once you entered the txt files, select ‘upload certificate’.
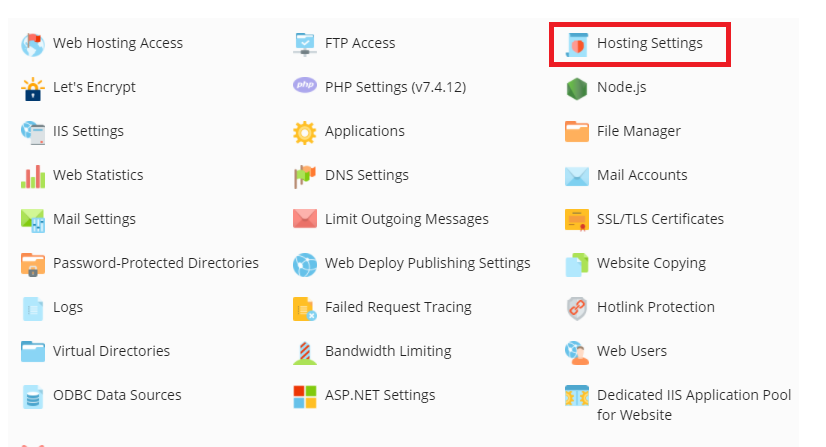
Once your certificate has been created, go back to Website & Domains and click on the option – ‘Hosting & Settings’.
You will be taken to the settings page, here, find the ‘Security’ section and check the box – ‘ssl/tls support’.

Below this option, you will find the certificate drop down box, select your certificate from this drop down and click ‘Ok’.

Your SSL certificate will then be installed from the Plesk control panel.
Conclusion
Your plesk domain now has a valid ssl certificate, and all traffic is redirected to the https version of your site guaranteeing you a secure connection. This also allows you to more safely complete your osCommerce transactions, plus, you will have a higher search engine ranking since your site will be secure. You can now confidently open your store with the assurance that all data will be securely transmitted to your customers.