How to Install FFMPEG for WHM/cPanel Server?
FFMPEG is an effective tool for any person running a video or audio website. It also allows your server to stream and convert media files across a number of devices without any issues. This tutorial will demonstrate the installation of FFMPEG through the terminal in your WHM panel.
The majority of modern websites use this software to support high-quality video uploads. It works on a variety of operating systems, and it is compatible with almost all media formats in existence. You can also use it together with PHP to handle media files directly within your web code.
What is FFMPEG?
FFMPEG – Fast Forward MPEG – is a prominent multimedia framework. It is able to decode, encode, transcode, and stream various types of digital media. Developers use it to make sure that videos can be played correctly on mobile phones and desktop computers.
By installing this application, your server can be capable of dealing with intensive media tasks. It is able to create thumbnails and automatically change video resolutions. The high-performance VPS plans offered by Cantech can be used to run tools that consume a lot of resources, such as FFMPEG.
Steps to Install FFMPEG via WHM Terminal
The installation commands should be run using the root terminal. These are the steps to be followed in this particular sequence to make the software setup successful.
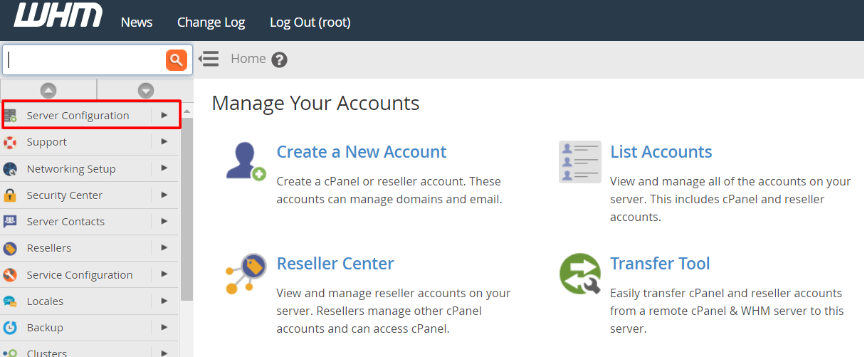
- Log in to WHM – Go to the WHM dashboard and log in using your root administrator account.
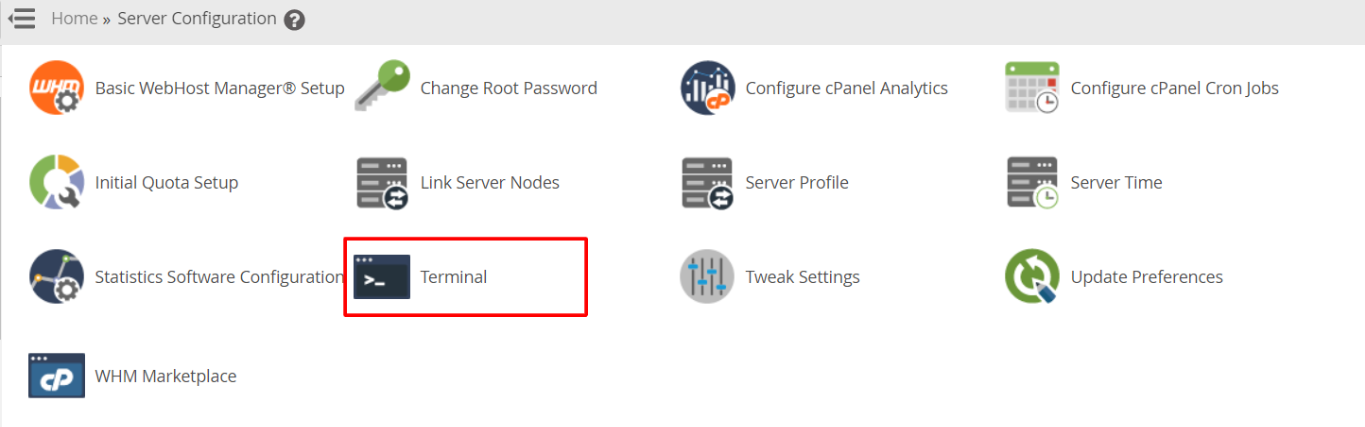
- Open the Terminal – The menu has a section named Server Configuration, and when you click on Terminal, the command-line interface will be opened.
- Install the EPEL Repository – To begin with, you need to add the EPEL repository to your system by entering the following command into the terminal:
yum install epel-release
In case it fails, download the file manually using the following commands:
wget https://dl.fedoraproject.org/pub/epel/epel-release-latest-7.noarch.rpm
rpm -ivh epel-release-latest-7.noarch.rpm
- Add NUX Desktop Repository – The second step is to install the NUX desktop repo to access the required media packages by typing the following command:
rpm -Uvh http://li.nux.ro/download/nux/dextop/el7/x86_64/nux-dextop-release-0-5.el7.nux.noarch.rpm
- Run the FFMPEG Installation – The main application is now ready to be downloaded to your system. The following command is used to start the installation:
yum -y install ffmpeg ffmpeg-devel
- Verify the Version – To ensure the successful installation, type the following command to show the current version:
ffmpeg -version
Conclusion
FFmpeg is a requirement in any media-intensive project. It provides your cPanel server with professional video-processing capabilities. Once these steps are followed, your site will be able to handle complicated audio and video activities without any problems.
FAQs
Is it possible to install FFMPEG on a shared hosting account?
No. FFMPEG is usually installed with root access, and therefore, a VPN or a dedicated server is necessary to execute such commands. Users of shared-hosting should ensure their provider has already installed it.
Can I use FFMPEG for free on my server?
Yes. FFMPEG is an open-source application and is absolutely free to all. It is also popular among developers around the world and does not require any licensing fees to use it in their business or personal websites.
Does FFMPEG slow the performance of my server?
Video processing is a resource-intensive task that requires a lot of RAM. During the active conversion of a large video file, your server can slow down. You need a strong Cantech plan in case you intend to process a large number of videos in one day.
How do I update FFMPEG to the latest version?
Upgrade the software using the same command as yum install. The system will automatically scan the repositories that you add for newer versions. You are always up-to-date on the latest features and security patches.