How to Create and Manage User Roles in Plesk?
When it comes to managing a server with several different users, whether they be developers, accountants, or interns, it is crucial to maintain the ‘least privilege’ principle. In the context of the Plesk system, User Roles are the templates that describe what an additional user is able to perceive or execute within a subscription. Instead of giving everyone the same level of access as an administrator, you can design customized ‘containers’ of permissions that will help keep your server secured and organized.
Whether it is access to a single domain or a whole customer account, grasping roles is the fundamental step toward excellent professional server management.
Steps to create and manage user roles in Plesk are:
- Log in to Plesk.
- Click on Users.
- Then click on the User Roles tab.
- User Roles permit you to customize how much access each type of user will have to your account.
- These are user roles that Plesk creates by default. You can modify and customize them, or use Plesk’s built-in default roles.
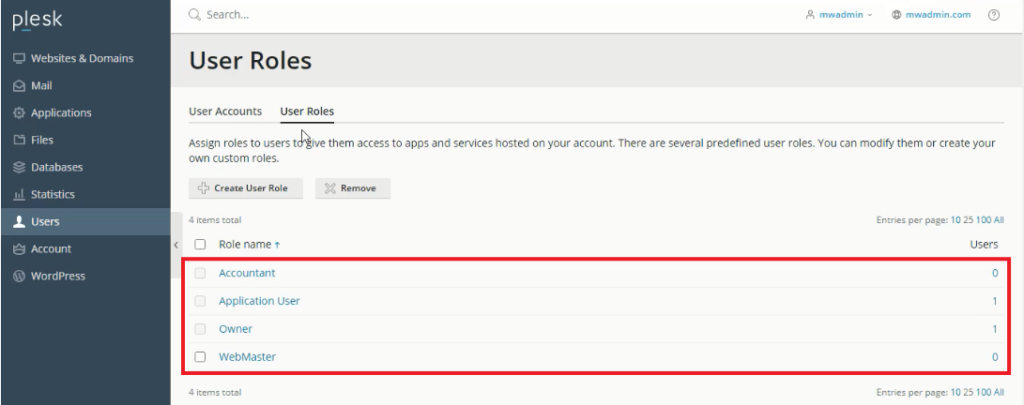
- If you would like to create a brand new role just go ahead and click on Create User Role.
- At this point, in the User role name box, type in the new name you have for that user role.
- You will then in the Access to Plesk Services section, use the controls to either grant or deny access to the services that you want to manage for this user role.
- After that, click OK, and a message will confirm the operation’s success.
Conclusion
Understanding user roles in Plesk is the best way to assign responsibilities and still keep your server secure. It takes only a couple of minutes to define custom permissions so that team members are equipped with the right level of access needed to do their work, while protective system settings are kept intact. Defining roles allows you to assign them to new users as your team expands.