How to create a Database and Database User in Plesk?
All dynamic websites, regardless of being built with WordPress, Joomla, or using custom applications, need to have dedicated databases to retain their content, user information, and preferences. In Plesk, these structures of data can be managed from the Databases menu, which makes it easy to create both the storage (database) and the security components (database user). Organizing your database environment properly can help in ensuring that your application has a safe and structured data living area and has the right privileges to function seamlessly.
- Log in to Plesk.
- Click on Databases.
- To create a new database, select Add Database.
- Provide a name for the database in the Database name section.
- Select a database server from the Database server dropdown.

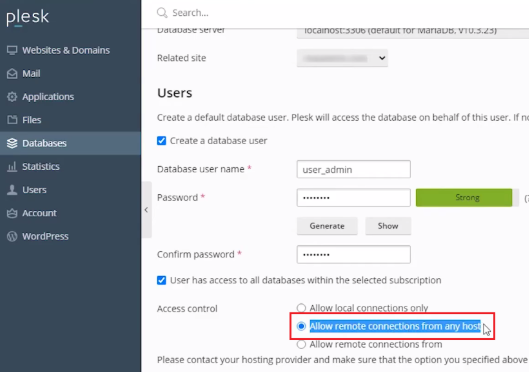
- To create a database user, input a username in the Database user name section.
- In the Password section, type a password which should be a mix of uppercase and lowercase letters, numbers, and symbols.
- In the Confirm password section, re-enter the same password.
- If you would like to use an auto-generated password, click on Generate. A random password will be filled in both the Password and Confirm Password fields.
- Clicking Show will reveal the password.
- You should copy the password to a notepad for your records.
- If you want to conceal the password then click on Hide.
- If you want to give this user access to all the databases that are created under this subscription, select this checkbox.

- In the Access control section, you can set the user permissions to access the database from these options.
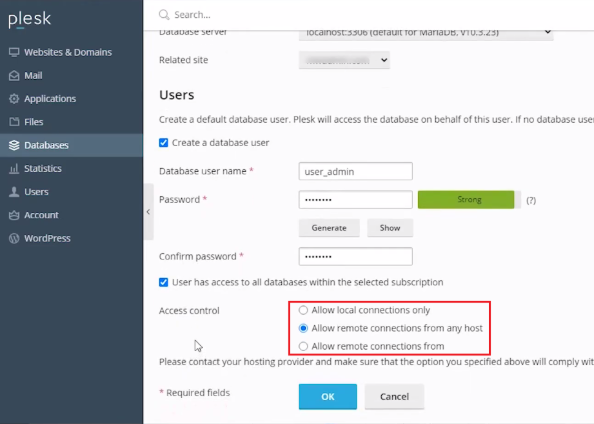
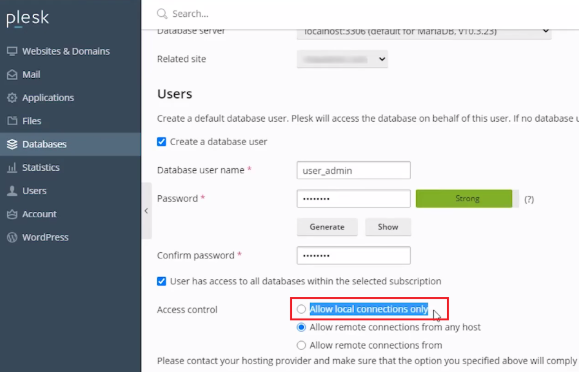
- This option permits access to the database from local connections only.
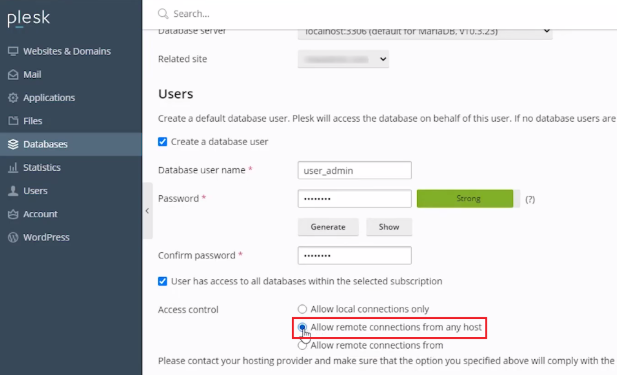
- This option is selected by default and allows access to the database from remote connections to any host.
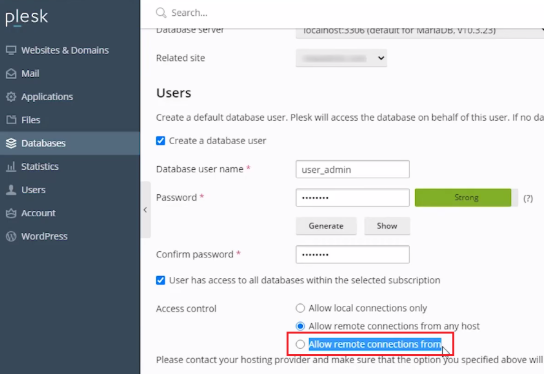
- If you want to allow remote access from certain IP addresses or domain names, select this option.
- As you can see, we are using the default option.
- To proceed, click on OK to create a database and a database user.
- A success message will be displayed.
- You can find your new database user under User Management.
- Anytime you want, click on the username to alter its settings.
Conclusion
The first thing you must do when starting any new web development project is create a database and a user for that database. Using the tools available in Plesk, you can create a secure integration for your app’s code and its data. After you get your database up and running, use the Plesk Database Backup tool to backup your data, and keep your database credentials secure.