How to Create Custom Email Filters In cPanel?
The number of emails one person can receive daily can be substantial. Some of these emails are important business communications, others are newsletters, and the rest can be junk mail. A disorganized inbox can cause frustration and lost business opportunities. The solution to a disorganized inbox is filtering. Luckily, Custom Email Filters can help automate the inbox filtering. Even better, Custom Email Filters are available to you if your hosting company uses cPanel.
We are going to take you through the processes involved in customizing your filter using cPanel, step by step. Once the filters are in place you will be able to manage the incoming mail and send it automatically to particular folders, remove one step from the incoming mail by having it send a reply if desired, or remove it altogether. The end result will be the transformation of your inbox from chaotic to streamlined in one place. Let’s start!
The initial step is to log onto your cPanel account.
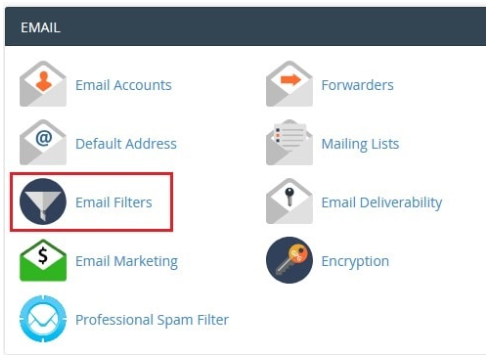
Then under the Email section, you can select the Email Filters option.
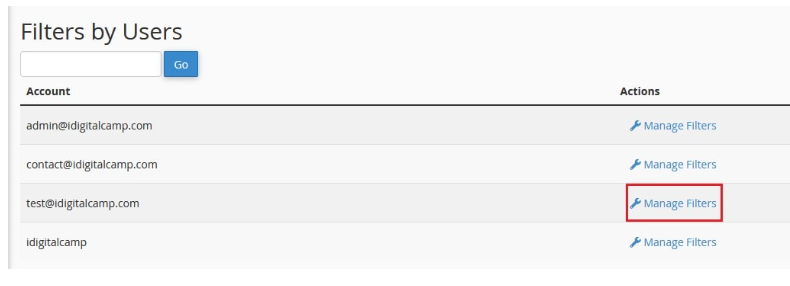
Next you will see the Manage Filters option, you will need to select it.
Lastly, to create a filter, select the option to create a new filter.

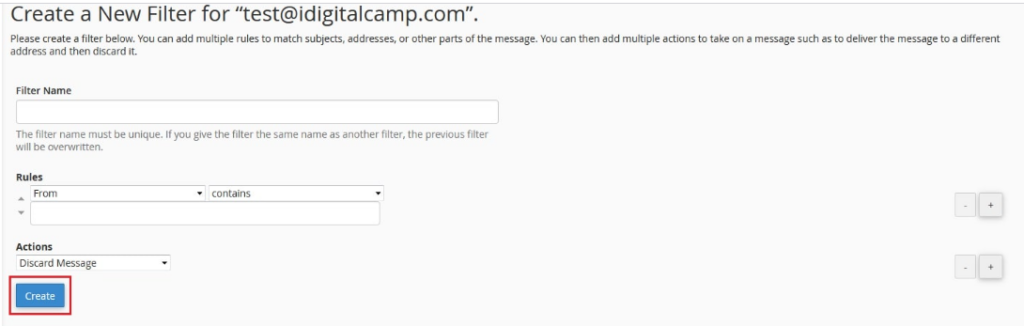
In the Filter Name field, enter a unique name for the filter.

Note: Should you name this new filter similarly to other created ones, your new filter will replace that existing filter.
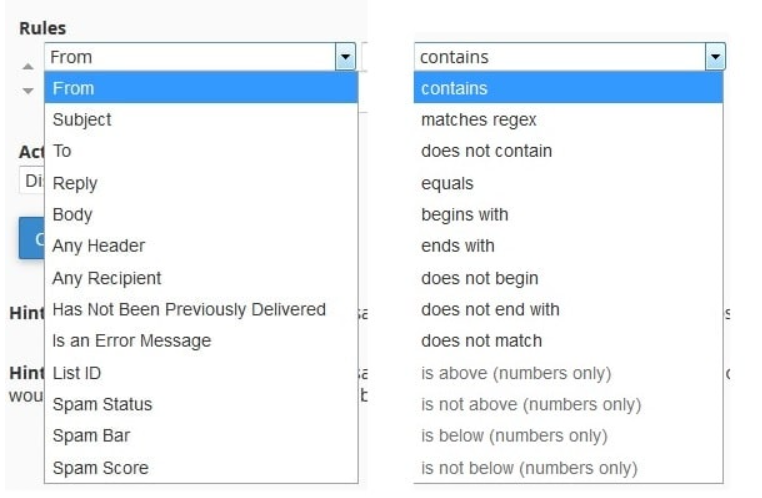
Within the Rules section, you are able to select various settings such as From, Subject, To, Reply, Body, etc. alongside conditions such as matches regex, does not contain, equals, begins with, etc. in relation to the email to decide how the email will be processed.
Let’s say we choose “Any Header” with “contains” specified and we add the word “Spam” to the empty field. Then this rule will be applied, as the system will filter emails with headers that contain the word spam.
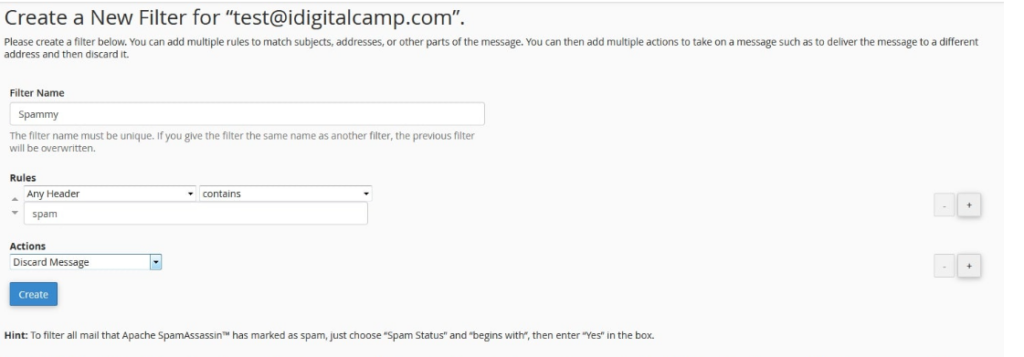
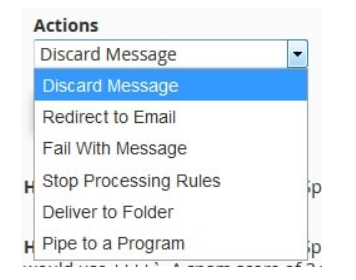
You can select what you want to happen to that specific email using the various options provided under the Actions section. You can choose to Discard Message, Redirect to Email, etc.
Then, click the Create button.
Once you complete that, the filter gets created, and you will see the success message below:

You will see the newly created filter in the “Current Filters” section after clicking on the “Go Back” link.

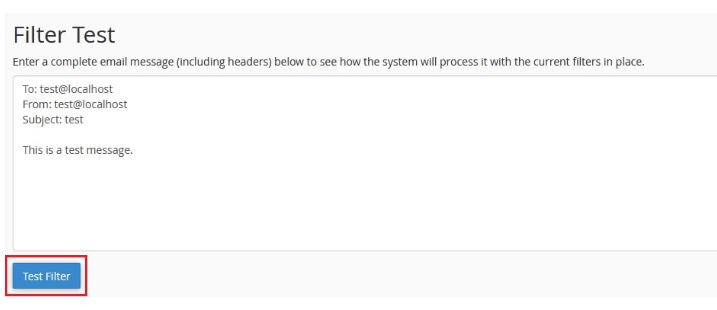
To see the function of the filter, use the Test Filter button, and that is how you will be able to determine whether the filter produces the results you are looking for.
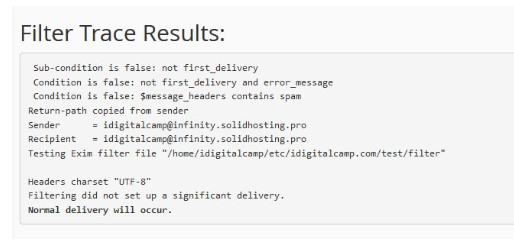
You will get the following message in relation to the results obtained:
The custom email filters are easy to create in cPanel with the steps provided above.
Conclusion
Congratulations! You now know how to harness the power of cPanel’s Custom Email Filters. By strategically applying filters based on subject lines, sender addresses, or specific keywords, you can dramatically improve your email workflow, ensuring that the most important messages are always prominently displayed and less critical mail is neatly filed away or instantly deleted.
Remember to periodically review your filters, especially as your communication needs evolve. A well-configured set of email filters is more than just an organizational trick—it’s a critical tool for boosting productivity and reducing digital clutter. Start filtering today, and enjoy a cleaner, more efficient, and stress-free inbox.