How to Setup PHP Manager on Windows with IIS?
Introduction
PHP Manager is a powerful tool on Windows servers with IIS (Internet Information Services). You can manage multiple PHP versions or configure PHP settings using it.
Moreover, this graphical tool makes it super simple to install, run, and manage PHP on your IIS web server. Also, you can enable or disable PHP extensions and configure settings in the php.ini file using PHP Manager. This is highly essential for the smooth running of PHP-based applications.
Let us now understand the step-wise process to install PHP Manager on a Windows server with IIS. Also, you will learn how to set up a simple PHP application to verify your installation.
Prerequisites
- A Windows Server set up and running on a platform like Cantech.
- Remote access to the server (use Remote Desktop Protocol or RDP).
- Microsoft Web Platform Installer needs to be installed on the server.
Step 1 – Install IIS (Internet Information Services)
First, let’s get IIS set up on your server.
- Open Windows Server Manager on your server.
- When you click on
Add roles and features,a wizard will open. In that, chooseRole-based or feature-based installation - Click Next.
- Click on
Web Server (IIS)from the list of roles. Again, click Next. - Confirm that IIS is selected and proceed with the installation.
- After installation is done, go to your web browser and enter your server’s public IP address.
You will see the IIS welcome page after everything is set up correctly.
Step 2 – Download and Install PHP Manager
IIS is running now, so now you need to add PHP Manager.
- Go to the Microsoft Portal and download PHP Manager for IIS.
- When the download is complete, you need to run the
.msiinstaller to install PHP Manager (also known as IIS PHP Manager) on your Windows server.
Step 3 – Install PHP and Enable IIS CGI Support
This step is essential for enabling PHP on your IIS server.
- Open the
Microsoft Web Platform Installerfrom the Start menu. - Type
IIS CGIin the search bar at the top. - You will see various results. Click on
Addnext to IIS: CGI. - Next, type ‘PHP 7.4’ in the search bar.
- Then, select
PHP 7.4 (x86)and click Install. - The installation will download and set up PHP on your server (with required packages & dependencies).
Step 4 – PHP Manager Configuration
Now PHP Manager is installed too. Next, you can configure it through the IIS Manager after you install PHP for IIS.
- Open
IIS Manager(search for it in the Start menu under Windows Administrative Tools). - Select the name of your server in the left panel.
- You will see the IIS section; click on
PHP Managerover there. - The PHP Manager interface will show the installed PHP version. Click
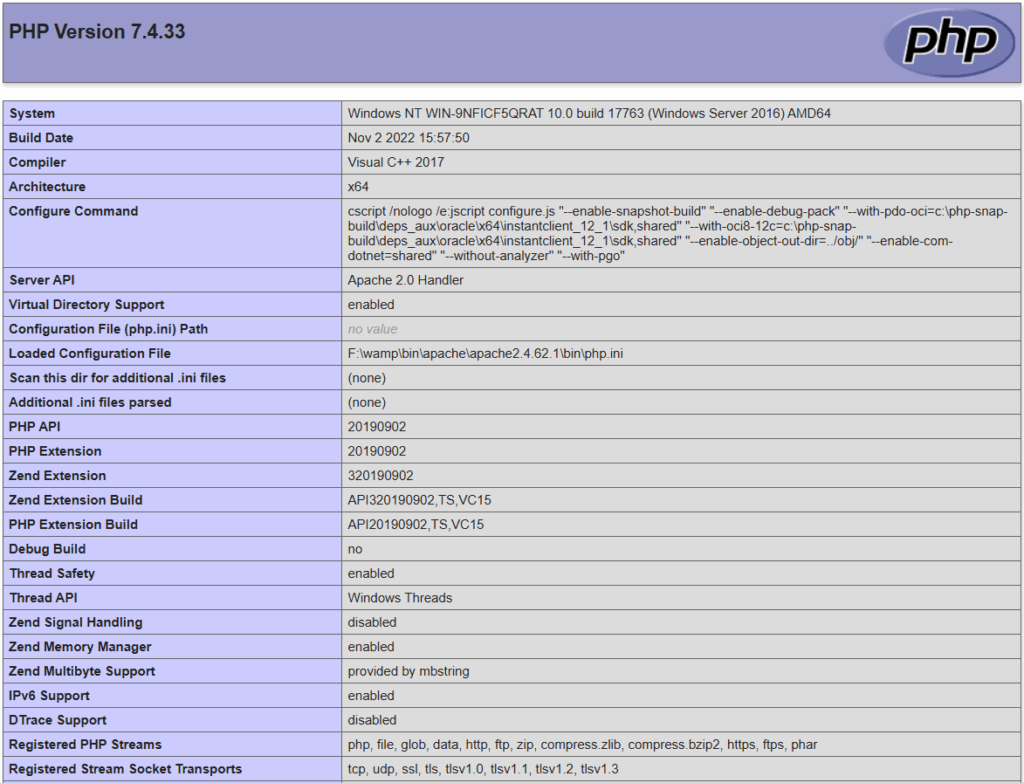
Check phpinfo()to view detailed information about your PHP installation. - A dialog will appear. Set localhost as the test URL and click
OKto see the current PHP info on your server.
Additional Configuration
- You can install more PHP versions. Download the PHP version and go to ‘Register new PHP version’ in PHP Manager.
- Go to the
PHP Settingssection to modify PHP settings or thephp.inifile. - The
PHP Extensionssection includes installations and enabling/disabling extensions.
Step 5 – Test PHP on Windows
Lastly, let’s verify if PHP is working correctly on your Windows server.
- Open ‘Notepad’ as an administrator from the Start menu (right-click and select Run as administrator or from Windows Accessories group).
- Paste the following PHP code into the Notepad file:
<?php
echo "<h1> PHP has been successfully set up on your Windows Server. </h1><br>";
echo "<h3> Here’s the currently installed PHP version and its details: </h3><br>";
phpinfo();
?>
- Save it as ‘All Files’ in the directory –
C:\inetpub\wwwroot\Give it a custom name liketest.php. - Now, open your web browser and enter the following URL.
http://windows-server-ip/test.php
- Replace windows-server-ip with your actual server IP address.
- You will see the PHP information page. This confirms that PHP is working fine and everything is set up properly.
Conclusion
Now, you can run PHP applications on your server and even switch between different PHP versions easily. PHP Manager makes managing PHP on your IIS server a lot more manageable. It simplifies the process of handling PHP extensions, modifying configuration files, and even switching between multiple PHP versions. To learn more about managing PHP settings and versions, be sure to check out Microsoft’s official documentation for PHP Manager.
FAQs
How to install PHP on IIS?
To install PHP on IIS, download PHP and install PHP Manager. Then open IIS Manager, add the PHP path, and restart IIS to make it work properly.